My guide to taking the best possible photos of your artwork, using simple lighting and camera techniques.
Production and direction by Tyler Stalman & Jason Eng
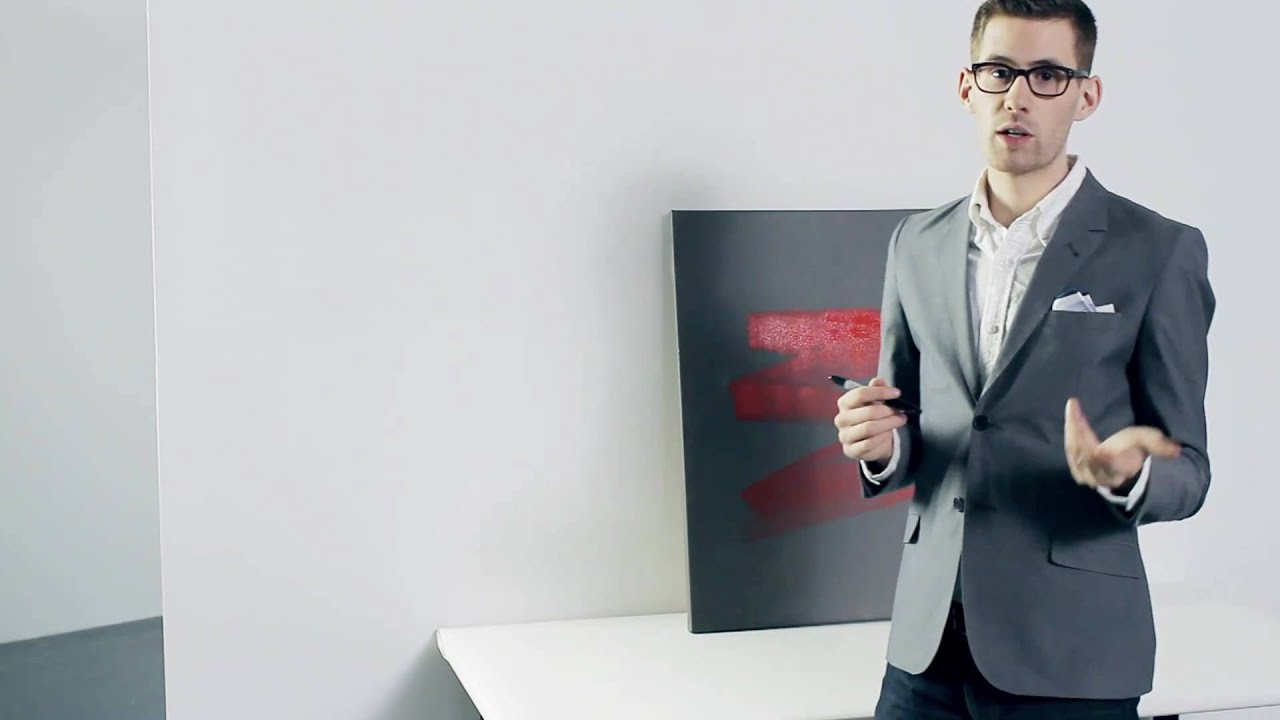
Created for saatchionline.com
My guide to taking the best possible photos of your artwork, using simple lighting and camera techniques.
Production and direction by Tyler Stalman & Jason Eng
Created for saatchionline.com
That was funny as hell
Thank You 😊
3:33 in other words:
"This wasn't here before. I'm just painting over it."
"This, as well, wasn't here before. I'm painting over it"
…….
…….
…….
……."
Thank you so much, clear, direct and understandable instructions. Really appreciate this 🙂
😘😘😘
For art prints as well do we need to sign and date the back????? Or would that be on the certificate of authenticity?
Thank you! This was extremely helpful. I have an 8 x 10 print of a black and white photograph. I shot using the methods you suggested and it came out great! It is on epson velvet fine art paper. When I put it on saatchi I don't want to bend the paper. Should I suggest the shipping option with a box and use a rigid flat mailer???? Just starting out. Thank you!
Then there’s me, just setting it on the floor and taking a picture with my phone XD
how much the suit? 🙂
Thank you!
An excellent video presentation…….offering all the wrong advice. I've seen a few How to Vids now offering the same bad info.
Using Natural light is a terrible Idea as it's can't be controlled. Ideally you want a studio environment where the light source, temperature and exposure is constant. Natural light can shift in colour temp massively from bright sunlight to clouds in seconds. For a workflow, you don't want to spend your time constantly correcting colour temp white balance and exposure.
A Douglas Grey Card is essential to achieve the correct Exposure.
A White Balance Card is also essential.
Very soft diffuse light is also essential evenly light from left to right, with no overhead light sources.
I think i'll make a proper vid explaining this.
Does anyone know what the thing he propped the painting on is called? Is it an easle? A stand? Help please!
Explains what the saachit folks consider art.CONtemporary
What camera is this?
And how to take it good with mobile phone?
Lmao, taking a photo took longer time than creating the art, applicable to modern day real life art industry lol.
When you low key make a post modern masterpiece in a snap.
turn off image stabilization when using a tripod
Camera? Did you buy that at Walmart? I thought this was S&S. I have a D810. Shoot in RAW, baby! And Picasa? You've got to be fucking kidding me. What artist doesn't know how to use Lightroom in conjunction with Photoshop?
summary:
positioning& lighting:
1) make art
2) if it's canvas-great. if on loose paper / cardboard , match to something that can hanglean on the wall.
3) choose location with bright soft light. (harsh direct lighting can cast shadowscreate reflections & shift the colors.)
a large window is good. in an overcast day you can shoot outdoors.
camera handling:
4) set iso to 100 or 200 (depending on the camera model)
5) use a microfiber cloth to clean any dirt or smudges off of your lens.
6) make sure camera wont move while taking pictures. use tripod. or flat level surface.
7) make sure work angle is parallel to the lens of camera. tilt the camera to match angle.
8) – if photographing an installation or sculpture, use clean background. the work should be the only object.
9) leave small amount of space between the canvas and the frame. (this will max the image quality)
10) position camera vertically/horizontally to match angle of canvas.
11) no flash
12)you should adjust the white in the image to the white you see.
if camera is making it orangeblue, try using preset to your lighting environment. (in this case: daylight)
13) shut other lightsources. (wont mix well with the other light)
14) use self-timer to keep camera still while shooting.
15) zoom in a little. (not too much & not no zoom)
16) aperture set to f8
after shooting:
17) look: is the shot too darklight? use exposure compensation in your camera to correct it.
18) the color&exposure in photo should be as close as possible to the original artwork.
19) too much computer manipulation can ruin image file.
20) make sure focus is good (not too softblurry)
21) take several shots
22) dont pack until you look in the computer (big screen shows flaws) you may need to retake photos.
on the computer:
23) crop so there's no edges
24) double check
25) zoom in and retouch photo problems.
26) boost contrast to equal original but not too much.
27) save as .jpeg and save it in max quality.
hope the summary was helpful. if it was say hi 🙂
Thank you very much for your straight forward explanation here! I was struggling finding any decent ones.