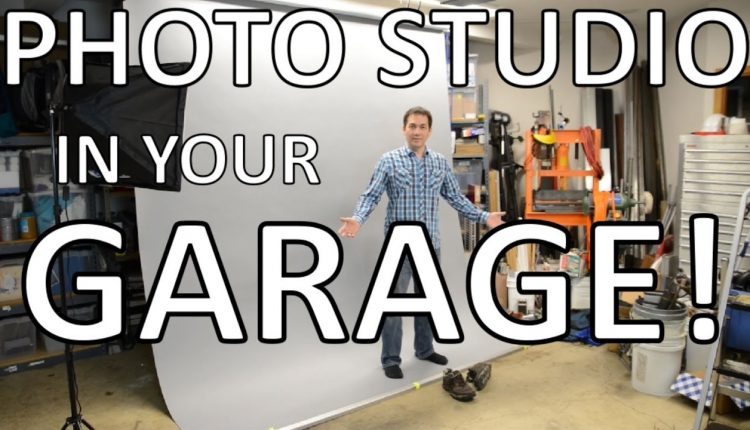
Build a Professional Photo Studio in your Garage!
Time to install a ceiling mounted seamless paper backdrop in my garage/shop! The idea is that I can stretch my limited garage space by adding this fully retractable 9′ long (107″) backdrop, which tucks totally out of the way when not being used.
The kit can be purchased new online (from many brands) for about $65 for the brackets, mandrels and chain. Seamless paper costs about $70 per roll for 108″ x 12 yards, regardless of color. Because the bracket can accept three rolls, you could stock black, gray and a greenscreen seamless paper. Changing between colors takes less than a minute! So including turning on the lights, you can walk in, and be shooting in less than 5 minutes. When you’re done, you can get all your floor space back to park your car, do some welding, build that giant flying robot….
This video is a walkthrough of the install, along with tips, tricks, and commentary. It’s a slight departure from my normal video content (CNC machining, designing, building, melting and casting things, and heavy equipment). But since photography is a hobby of mine, why not?
Compared to muslin cloth and freestanding stands, this is setup sooo much easier to set up, stow, and light evenly without wrinkles. I thought this might be interesting for anyone trying to set up a garage studio.
To build this setup, you need the following:
Roller System:
Paper counterweight:
At least 2 of these softbox lights:
+Your choice of paper backdrops. I used 107″ wide, but you can choose other widths. Here are links to the ones I bought:
White paper:
Green screen:
Neutral Gray:
The above are all affiliate links.
As an optional improvement, you can buy 2″ electrical conduit at Home Depot and transfer your paper from the cardboard rolls to the conduit, which is galvanized steel and will eliminate any possible sag. Totally optional, but a nice cheap improvement.
Be sure to check out my channel and subscribe!

This video helped me a lot Thank you so much.. Good luck 👍🙏
Thank you for sharing!!
Great video, very helpful. Will use this setup for my future studio. Thanks
To build this setup, you need the following:
Roller System: http://amzn.to/2AXQzZJ
Paper counterweight: http://amzn.to/2yTQBjS
At least 2 of these softbox lights: http://amzn.to/2hIR2dA
+Your choice of paper backdrops. I used 107" wide, but you can choose other widths. Here are links to the ones I bought:
White paper: http://amzn.to/2yTfV9y
Green screen: http://amzn.to/2yWhweE
Neutral Gray: http://amzn.to/2AVIaWC
The above are all affiliate links.
Great video! But where can I order the kits from?
great idea! thanks a lot man 🙏🏾
Great Job! I'm slowly doing the same to our garage, multiple use of space. Outstanding!
Great video! I created a diy ceiling lighting rig in my tiny garage for $57 https://www.youtube.com/watch?v=79TX_OHJ8KQ and it works a treat!! got all my lightstands of the floor so I could make the most of the small area.
any sagging of the big roll of seamless ?
I was wondering, how you transfer the photo camera view to cell phone on top of camera? Thank you
well I am not into melting things, so this time I just drop a like and say You are one awesome dude, thanks!
hi there, this is absolutely smartest DIY which I ever seen. so could you provide proper name of hanger and rolling stuff as my English limited and coupon find.
thank you.
Thank you….
Can you post a link for the kit?
Super helpful video! Could you please share a link to where you bought all of these materials? Thanks really appreciate it!
Where can we view some of your photography work?
Thanks for this video, it was so helpful!
you have no idea how much this video helped me!
Awesome. I was trying to figure out how to accomplish this on my own in my new garage studio conversion I setup lately. Only question I have is where did you purchase the system from? Thanks!
subscribed
Very cool! Good idea.