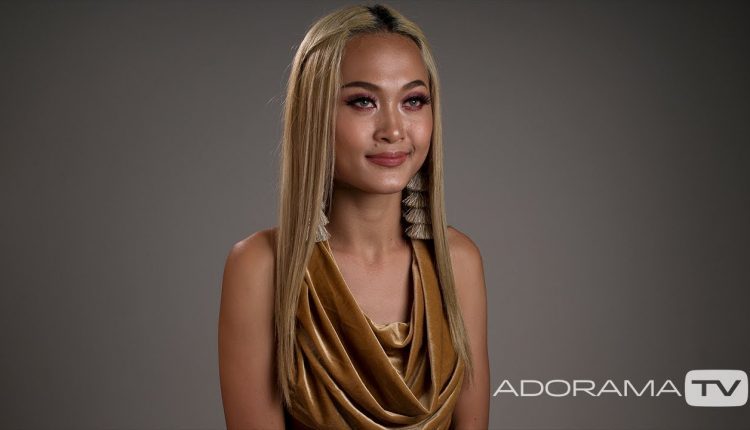
Studio Lighting Deconstructed: Exploring Photography with Mark Wallace
In this episode Mark Wallace breaks down a basic studio lighting setup to illustrate what each light does, and how that can be applied to all studio lighting setups. Mark also demonstrates how to create flexible studio lighting diagrams so you can recreate your favorite setups for years to come.
Related Products at Adorama:
Broncolor 30 x 180cm (11.8 x 70.9″) Softbox
Flashpoint Studio 400 Monolight
Sekonic L-308S Flashmate Light Meter
Leica M Type 240 Digital Rangefinder Camera Body
Leica 50mm f/1.4 SUMMILUX-M Aspherical -Black
Profoto B2 250 AirTTL To-Go Kit
Profoto Air Remote Transceiver
Profoto 2′ Octagonal Off-Camera Flash Softbox
Profoto Off-Camera Flash Speedring for Profoto B1 and B2
Related Videos:
Simply Stunning Beauty Lighting:
Metering for Light Ratios
Classic Episodes:
Light Ratios
Seven Lighting Setups
Model: Nikki Nikki
Instagram:
YouTube:
Facebook:
Photos by Mark Wallace
Like, share, and comment on the video below…let’s get the conversation started!
If you have questions, please share them below.

You have a way of teaching that makes it very easy for me to understand. Thank you so much =)
The good thing (there are several) about Mark is that he is NOT a pretentious "Artist".! ….. He knows what works for him, and he explains the process well. Everybody should try other things as well, but at least you know "his way" will work to some kind of reasonable effect.
On a side note……WHY do models wear So Much F'ing Makeup..!!???
Nice work Mark , strategically positioned stain to show how easy it is for people to get hung up on a small detail 😎
excellent
That's very interesting as I would normally assume that a hair light or rim/separation light would be exposed lower than the key light. I recently done some school photos and found that I had to lower the power of my hair/rim/separation light just over a full stop down from what the key light was measuring because it was too overpowering. I had my key light metered at f2.8 in a softbox, the other light behind and to camera left was eventually metered at f1.8 which was a standard reflector with a 50 degree grid. When the second light was also metered at f2.8 it was causing some really high key or over exposed areas
I love this video, very well explained. I have already recommended it to my friends.
Mark, you are always concise in explaining these types of instructions. Very helpful, thank you!
Wow. This video is so incredibly helpful. Thank you!
That model is very photogenic. Lucky you.
Very informative, thank you.
Thank you so very much! This is great! God bless you! 😊
Wahoo, jolie la demoiselle…. excellente vidéo !!!!!
Didn't hear a thing only saw the sweat or grease stain on your shirt!
A well explained video.
Very helpful for the beginners.
Thanks a lot.
Looking forward for more exciting videos.
thank you sir…
Mark, great videos as always!
Massively helpful and informative video, Mark, you are the best! Cheers!
Simply awesome
Very good video. But Mark, please, watch that stain in your shirt.
Goodness me. This is just brilliant Mr Wallace! This just explains and teaches me just what I need for studio lighting. Thank you.
Excelent video. Congratulations.
If you are in a room with fluorescent office lights just above your model, do you turn the fluorescent lights off or do you kill them with increasing shutter speed or f-stop on your camera so they don’t affect the ambient light and the colour of your pictures? It is just that my grey background was not grey….like it should have been…and I did not know if I should have turned them off (my camera was on auto white balance by the way…)
Great video. Especially like the top view drawings and the drone part. Great way to explain how to place and set up lights.
Thanks Mark for your amazing videos! I have learned so much thanks to you!
When I saw your thumbnail I thought you had color-graded Niki, but since you are your regular color she looks golden. I've never seen a golden person before; is that makeup or is she really that color? Looks interesting!
Great video, a real masterclass. Thanks a lot for sharing.
hey mark…. when is your next trip to India?
Thank you good sir
Hello!! I'm inspired by ur videos i want to become fashion photographer if u agree my suggestion I wanted to work with you AND AM RAVI FROM INDIA……
Mark, fantastic as always. Can you make a video on the best height of the camera for various portraits in relation to the subject, IE, head, body, bust, or multiple subjects, ect..
Great stuff Mark, Thanks
Great video as always. Probably the simplest and best demonstration I've watched on this topic. How small a room can you use to set this up?
This is the ultimate lighting video
Thanks
…. interesting model… ?!
excellent explanation, thank you.
Simplicity in itself – ratios for me from now on! Thank you Mark