I Guarantee I Can Teach You to Master Photoshop. Learn How:
Download the sample image here:
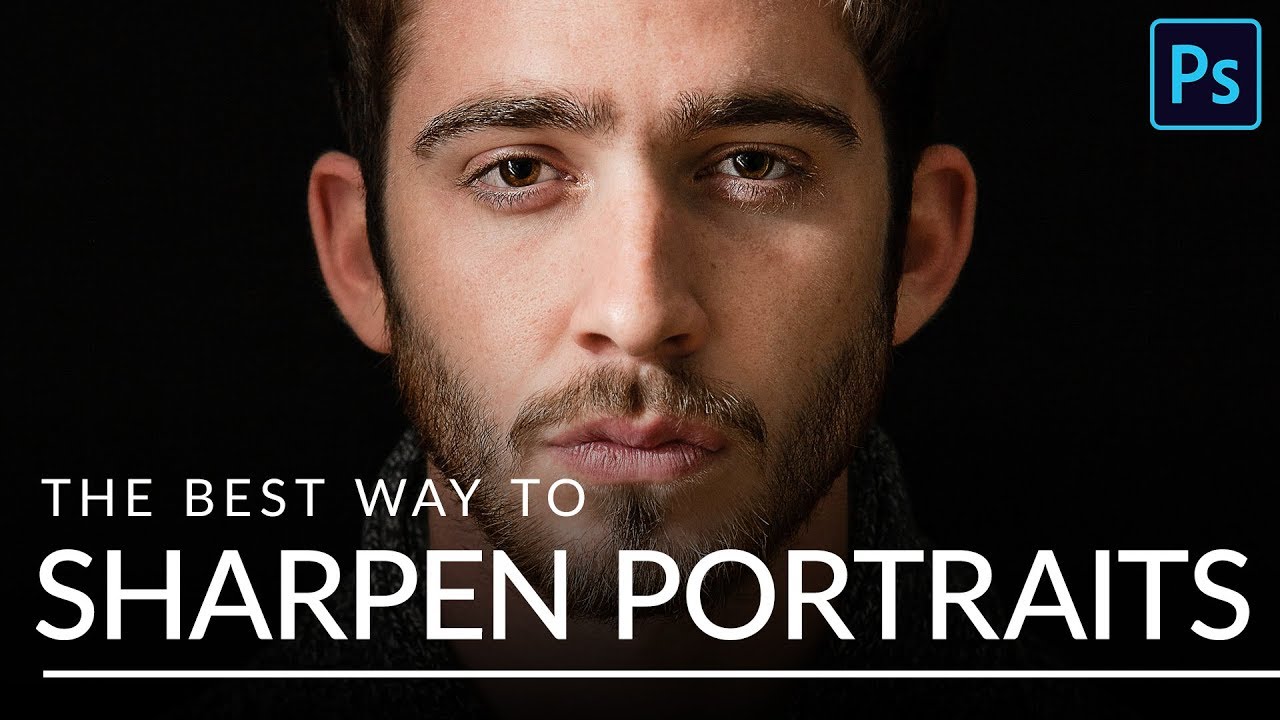
After spending long hours on a photo edit, sharpening is the best way to enhance all of the details you worked so hard to preserve It’s also a great tool to help guide the viewer’s eye to the subject of the image. In this tutorial, we show you the best sharpening method out there to target and highlight the details that matter.
Sharpen with Precision
Before you start sharpening, there’s two important tips to keep in mind. First, sharpening should be the very last step in your post-processing workflow. Make sure to take care of all of the retouching and coloring first – that way you only end up sharpening details that you intended to be in the final image.
Second, sharpening should be done according to whatever you want the size of the final image to be. For example, you would sharpen a full-sized print differently than you would an 800-pixel wide version for the web. So if you’re exporting several different sizes, be sure to sharpen them all separately after you’ve cropped and resized. It takes more time but will make a significant difference in the quality and impact of the sharpening.
VISIT PHLEARN.COM FOR MORE FREE TUTORIALS
SUBSCRIBE NOW FOR MORE FREE TIPS AND TRICKS
LET’S BE FRIENDS!
Instagram ►
Facebook ►
Twitter ►
Phlearn ►
THANK YOU SO MUCH!!! IT IS REALLY THE BEST WAY TO DO THIS. YOU ARE GENIUS!
FYI: You lost most of your sharpness when you shrunk the image because your resizing algorithm was set to bicubic smoothing, not bicubic sharpening.
Thank you so much!
Thanks for the ahh ha moment. For the longest time I've been doing smart sharpen the hard way. 👍
Perfect trainer!
to much work
Thanks so much Aaron… I’ve always used the high pass filter to sharpen, but I simply sharpened the whole image. Can’t wait to use your technique 🙏🏻
You mentioned to use sharpening technique at the end of process – color grade or burn-dodge is not good to do afterwards? please comment
do you have full portrait workflow? would be great
Dammt im crying that joke was so fun
intro name or project please ?
Thank you so much for the class.
Hi Aaron, great tutorial. I loved it. I am curious about the gear used to take this photo, was it taken with a full frame or crop sensor and with what lens? Thank you.
hey, aaron. i have a question. in the beginning of the tutorial you went to image–>apply image to create a copy of the portrait. what is the main different between doing this and click/option/dragging the layer in the the layers palette (to create the copy)?
Just curious, could I also use "soft light" instead of overlay? I could use more sharpening, but it doesn't look natural. Thank you for the video?
Awasomeeeeee bigging
Just have to say thank you so much for this video. I literally watched it at least 9 times when making my thumbnails. I am obviously NOT AT ALL talented like you, but you helped so much!!!!!
This is amazing, detail explanation, step by step which is perfect for beginners. Good job, keep it up
Good Looking Do not Back to old one 😀 , by the way thanks for Video
About resizing and sharpen, can I do this process directly in Lightroom or do I have to necessarily bring every single image to photoshop?
Hi Aaron,
got a question regarding high pass filter + frequency separation. Do I sharpen the image prior or after using frequency separation because one another will be correlative.
Why does he create a layer mask on the layer at 4:07 instead of using the layer mask, which is already there for the smart filter? I'm aware this is probably an amateur question, but please could someone answer. Thank you.
What app is he using? Is it adobe photoshop?
I am excited to try this! Also that vest is epic lol
Flawless tutorials and can you teach me how to resize the images for Instagram or Facebook for high quality images without losing images quality??
Very good approach. In addition to High Pass, I use the Sharpen tool to enhance fine details on a duplicated layer set to Overlay and turn down layer Opacity as required, if I over sharpen.
Great , very helpful + you are magician 😉
I want to say I been watching your video for a year now, you really helped me approve a lot Thank You.
what is the name of that movie?
Thank you, Aaron. Another brilliant tutorial, provided free to the unPhlearned masses. You are a generous man indeed.
Would i resize before sharpening? Or sharpen twice?
4:05
i wish there is a portrait tutorial for making outlines for tattoos =) stencils
great i want to sent u one pic with me for retus on pic with pixel more large if u can . for tutorial
i did this step by step..in photoshop it seems like the tutorial but when i save the file (jpeg) the picture is not the same. its looks even more crispy..any help?
when did second high didn't it affected the clothing and hair and made even sharpier
Thanks a lot
i cannot wait to subscribe to the pro version. you are the kindest person ever for releasing such value to the world for such a small fee and even free. god bless you. i am certain i have found my home for learning to use this apps