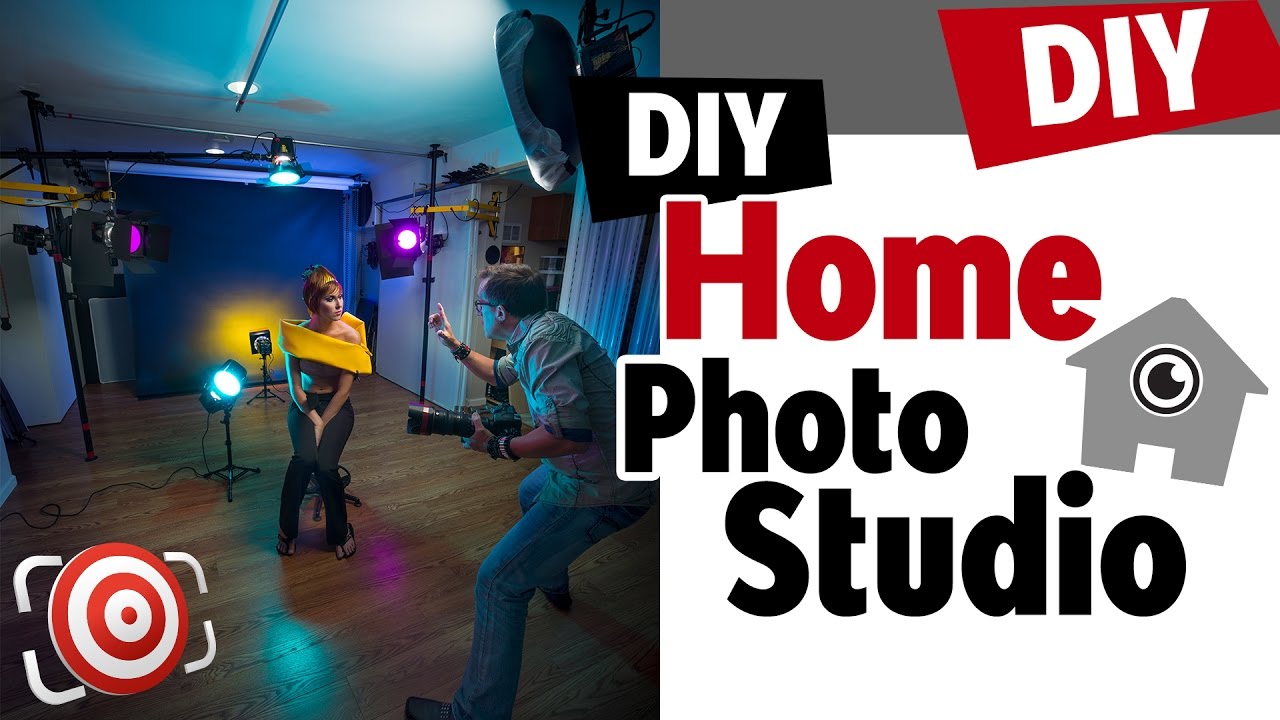
I am going to walk you through my home photography studio and show you some cool tips for maximizing space in your home portrait studio. I stopped renting studio space about 10 years ago and decided to build a working studio in my basement.
In this video I will show you a lot of the gadgets and tricks and DIY photography solutions that I have found to maximize my shooting space to be able to make this a very efficient photography studio. I will also show you how I deal with the low ceilings and explain what lenses I use to be able to do pretty much any thing I would do in a larger space.
Be sure to stay tuned until the end of the video and I’ll show you how to create a bed, a wall and a product platform all in one unit that stores flat against a wall.
My home portrait studio has a total of 671 square feet, but due to the layout and of course things like heating units and hot water heaters and a sump pump, I only have a usable 474 square feet for shooting and makeup and another 75 square feet that is usable for storage.
The main shooting area that is 23 feet long by 12 feet wide, and it has a ceiling height that is just shy of 8 feet. I chose white walls and a white ceiling so that I could actually use the space both as a white background, and also as built in reflectors. In this home photography studio, I used a wood laminate flooring just for something different. In the past, I have used a neutral gray painted floor and in hindsight, I would go back to the gray floor if I were to remodel or move. The neutral gray floor will allow you to use colored gels on your strobes to change its color.
————————————
PRODUCTS MENTIONED IN THIS VIDEO
Hydraulic Shampoo & Barber Chair:
Vinyl Bar Stool W/ Adjustable Height Air Lift & Swivel:
5 Gallon Desktop Cold & Hot Water Dispenser:
Fotodiox Single-Roller Roll Paper Drive set with Wall Mount Support:
Manfrotto Expan Drive Set with Red Metal Chain:
Dock Loading Light, Double Arm, 40” Length:
Manfrotto Wall Mounting Boom Arm:
3-Tier Wire Rolling Cart:
Translucent material:
————————————
VIDEOS MENTIONED
The Best Color Photography Background For Portraits Is Gray:
DIY Photography LED Studio Lights for Portraits & Headshots:
DIY Fluorescent Photography Studio Lighting with T8 Bulbs:
SUBSCRIBE so that you don’t miss NEW VIDEOS!
PATREON
Help me HELP YOU:
or donate via PayPal:
MY WEBSITE & BLOG
WANNA SEE MY GEAR?
SHOP FOR TOGSWAG℠
LET’S CONNECT!
– Like & Follow on FACEBOOK:
– Follow on TWITTER:
– Follow on INSTAGRAM:
– Check my boards on PINTEREST:
– Connect on LINKEDIN:
– Connect on GOOGLE+:
FTC Disclosure: No sponsors have paid for placement in this video.
#ishootpeople #joeedelman
Gold, as always!! My question is what you like to use as a posing stool? Is it better to have something completely backless for range of motion, or a little back support to help the client feel better supported? I am hoping to find something low profile and adjustable so I can use it for bigger kiddos, but thinking mostly headshot type work. Any suggestions? Thanks in advance!!
Excellent learnt a lot. Thanks.
This is like an expert level. I need a beginner level 🙂
Stay tooooned 🙂 love the accent !
Hello Joe, Thank you so much for all the amazing tips and advice in this video. I have a question for you though. I can't find the material for the lightwalls……do you know its specific name. I used the link but it doesn't come up. I can't seem to find it anywhere………Thank you again for all your amazing videos and all your help.
That box idea is great!
This is not a studio on a budget. With all those lighting equipment and structures look expensive.
Great creative space set up! always informative, always on point. Keep up the awesome work.
Amazing set up!
Ur humour, I like…😂
Hi Joe…. first off… I really enjoy learning from you videos and belong to your TOG CHAT group….. I have a simple question, I'm remodeling a room at my house for a studio. I see your walls and ceilings are white, should I use a flat white or a satin white for my walls and ceiling. Also I have a concrete floor, would it be wise to use carpet or just paint it? Thank you for any advise!!
Wow Joe, that's all I can say!! As much as I already valued your knowledge, this video gave me a completely new appreciation for your skills!!
The flash strobes heads on monitor stands at the corners… #genius. I hope my studio will look like yours one day!
for me this is the best video about building a DIY Home Studio – although I`m only a hobby photographer mainly using speedlights there are so many usefull tips – thanks a lot for your inspiration, Joe
-love from Israel …….
asher_sidi_models
Joe – great video (again). Thank you. I'm curious about the tethered camera, specifically what software we saw on the screen. This is something I am going to need to be able to do but so far haven't been able to find anything that works. Any hints or suggestions would be most appreciated.
Freaking genius.
Hi Joe, can I ask what is the name of the tube attached on the edge of your seamless background roll? Thanks in advance.
dude i love you xdddd
that scene with maneken LMAO
Wow, that is a great home studio and its obvious how much thought you've put into it. You can sure be proud of what you have accomplished. thanks for sharing, I'm headed down to Home Depot…Ha