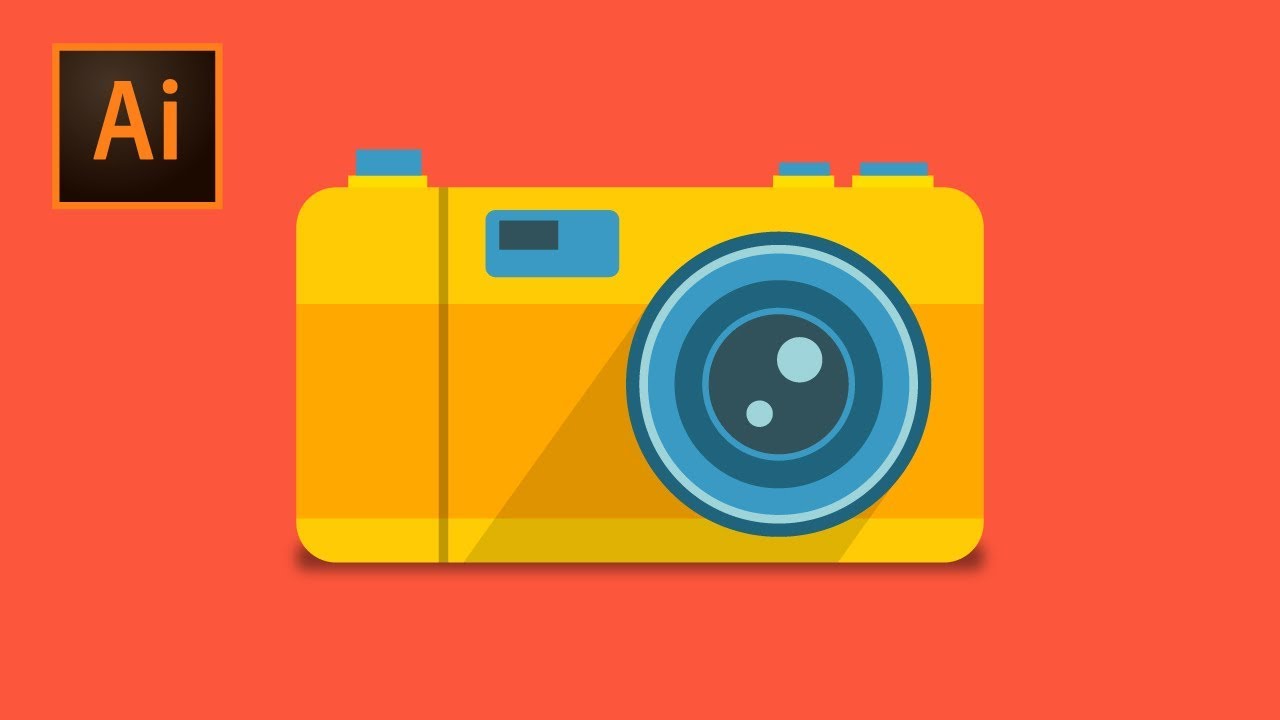
Learn how to create retro photo camera in 7 super easy steps using Adobe Illustrator CC. In this step by step Adobe Illustrator tutorial for beginners you will learn how to use basic tools such as: rectangle tool, ellipse tool, pen tool and even gaussian blur effect to create a shadow.
━━━━━━━━━━━━━━
↓ VIDEO GUIDE ↓
01:25 Step 1: creating base shape (rectangle tool+round corners)
02:30 Step 2: creating a stripe (rectangle tool)
03:27 Step 3: creating interface shadow (rectangle tool+opacity)
05:10 Step 4: creating buttons (rectangle tool)
09:05 Step 5: creating a viewfinder (rectangle tool+round corners)
10:46 Step 6: creating a lense (ellipse tool)
16:15 Step 7: creating shadows for lense and camera (pen tool, rectangle tool, opacity, gaussian blur)
━━━━━━━━━━━━━━
↓ SUBSCRIBE to get more new tutorials! ↓
━━━━━━━━━━━━━━
↓ FOLLOW ME ↓
Facebook →
Twitter →
Instagram →
Pinterest →
Behance →
Reddit →
━━━━━━━━━━━━━━
MORE step by step ADOBE ILLUSTRATOR TUTORIALS →
━━━━━━━━━━━━━━
Thank you for watching!
#TTtutorials #tipsandtricksaitutorials #ttaitutorials
↓ VIDEO GUIDE ↓
01:25 Step 1: creating base shape (rectangle tool+round corners)
02:30 Step 2: creating a stripe (rectangle tool)
03:27 Step 3: creating interface shadow (rectangle tool+opacity)
05:10 Step 4: creating buttons (rectangle tool)
09:05 Step 5: creating a viewfinder (rectangle tool+round corners)
10:46 Step 6: creating a lense (ellipse tool)
16:15 Step 7: creating shadows for lense and camera (pen tool, rectangle tool, opacity, gaussian blur)
A very good, simple tutorial for newbies. Thanks!
cool tutorial! all very detailed and understandable, really looking forward to new videos