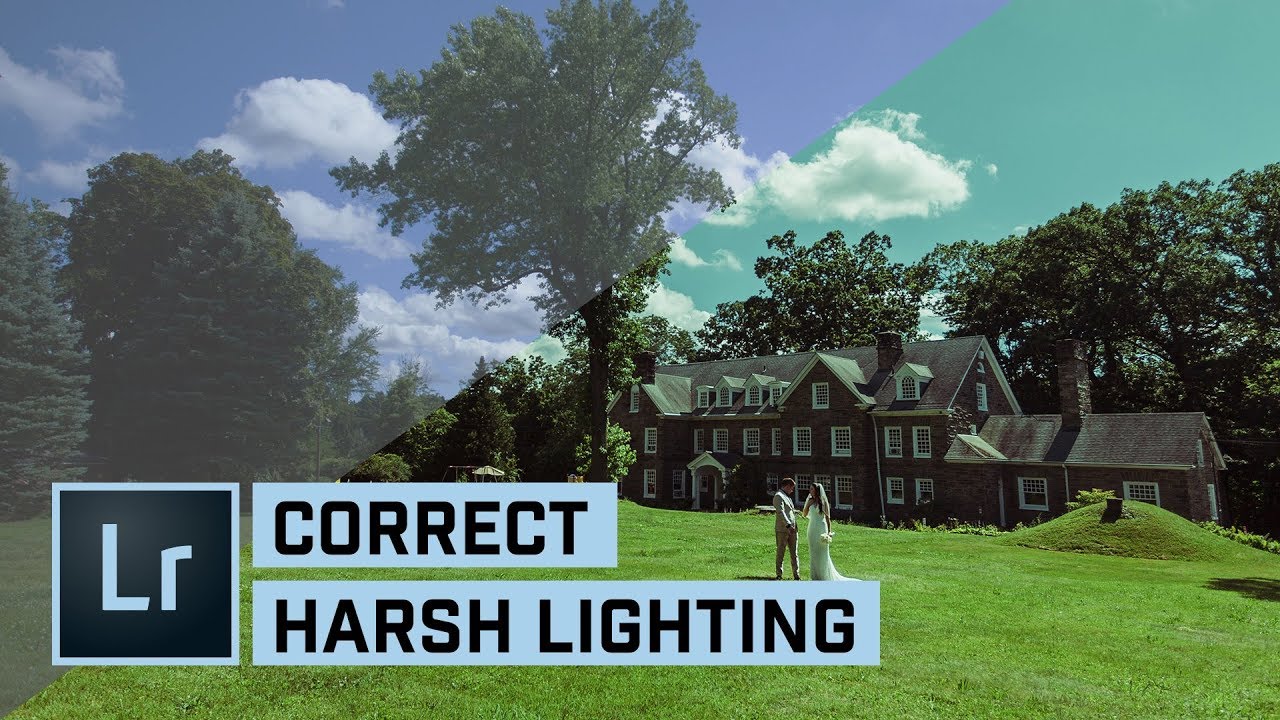
CHECK OUT MY TECHNIQUE FOR MAXIMIZING DYNAMIC RANGE FOR HANDLING PHOTOS IN THE BRIGHT SUN! | We’ll take a look at all the settings and options I tweak to handle difficult wedding photos with harsh light.
💰 Buy the Photoshop Course and Support the Channel →
🏆 My Instagram:
🎯 Subscribe for Daily Tutorials →
–
In this Adobe Lightroom tutorial, we’ll look at adjusting this wide angle lens-shot in the bright noonday summer sun so we can get a really cool looking photo and save details in the harsh highlights and shadows. We’ll use Camera Calibration to expand the photo a little, run the tones and colors with Curves, bounce the highlights and shadows around with our basic corrections, touch on the sharpening, adding some midtone punchiness, and even how I handle the lens correction issues of shooting at 17mm.
⚡️ written tutorial here:
INSTAGRAM:
TWITTER:
FACEBOOK:
SNAPCHAT: tutvid.com
tutvid is a YouTube channel dedicated to creating the best Adobe Photoshop, Premiere Pro, Lightroom, and Illustrator tutorials. My goal is to create the best, most informative, and entertaining tutorials on the web. If you enjoy my videos, the best way to support what I do here is to purchase my course linked above or simply subscribe to the YouTube channel by pressing the red button.
✉️ business inquiries: nate@tutvid.com
–
This was very helpful! Most of the tutorials I've found use the older versions of lightroom, it helps to actually have the same sliders 😁
How to have that zoomed circular cursor in lightroom?
This is your worst edit yet
Nice tut as always but for me its greenish a bit no?. But its your taste. Thx for the video
Great Videos,
Thank you … Do you have a video on how to set up your excellent Loupe Magnifying Glass you use?
… its brilliant.
I get that the shot itself is a throwaway, but you could've edited as if it wasn't… The color manipulation is terrible.
Re-title this video to: "Edit a photo to look like it was taken in the 70's"" LMAO
This wasn’t helpful at all but I applaud you for trying to help.
GloRAWous!
great tutorial , this week has been a tutvid week 🙂
So the point of this video was to show that your approach when you've shot a high contrasty scenery with blue in it is, to make the blue teal?^^ the rest you show is nice and makes sense, also, the blue IS very aggressive in the original, but changing something everyone knows as a nice blue to strong teal isn't a good solution in my eyes. I guess desaturating the blue and making the sky darker would have been a better approach – plus some serious cropping as the subject get lost in the field and have to be looked for 🙂
The original colour of the sky was far better,but an interesting tutorial never the less 🙂
Am Mohamed Bangura all the away from Sierra Leone (Pepel Camp), Can you make a lightroom tutorial for beginner all in one?
«До обработки» было лучше
that thumbnail looks like minecraft
I love you dude, you are crystal clear and I've learned so much from you! Thank you
Now I'm in the mood to watch some Wes Anderson
Naah..
Thank you great ❤❤
Interesting workflow, but I do feel that green and blue color cast is a bit heavy handed. Looks too much like a bad instagram filter.
Nice
love your vids
Hi, tutorial is great, but personally I would not waste time editing this photo. Sorry and Thanks
Always super usefull 🙂 thank you! (edit: oh first comment :P)