How to set up a simple portrait photo studio in your home using a flash, light stand, umbrella and white wall. Create beautiful studio portrait images for little cost.
Hi. This is Tom Greenwood from sydneyportraits.com.au and greenwoodmedia.com.au.
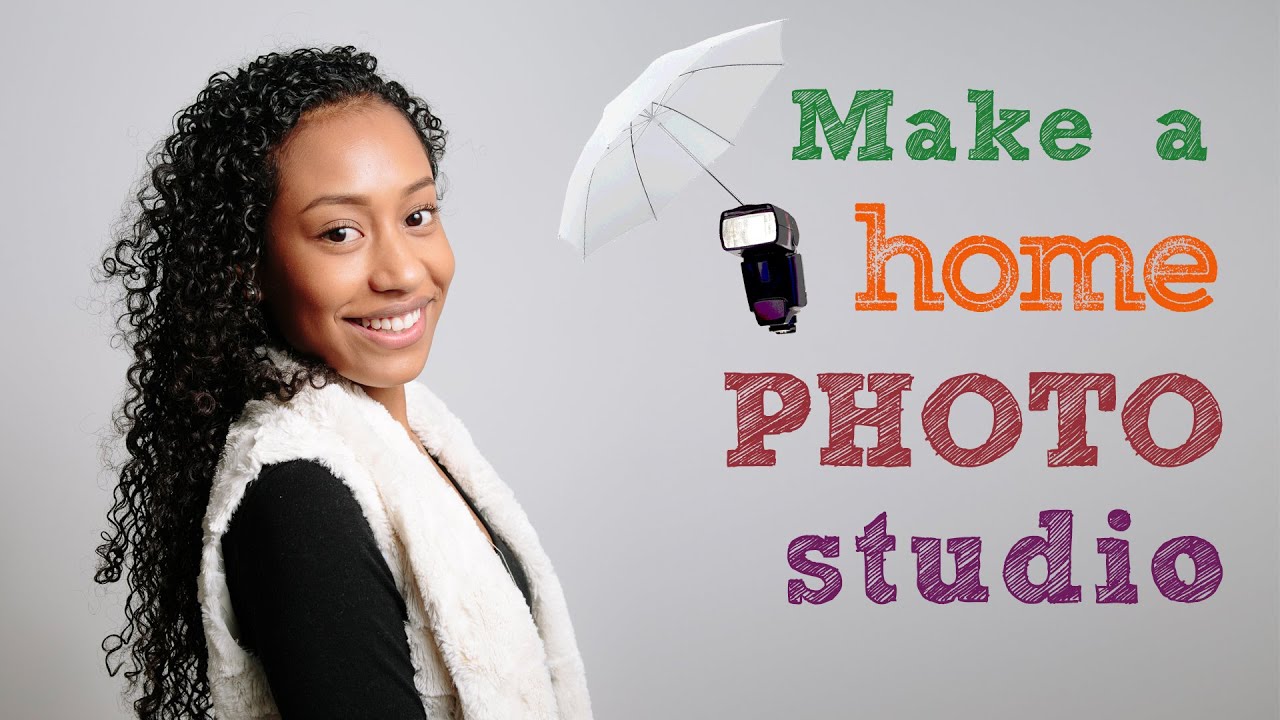
In this clip we’ll look at how to create a simple DIY photo studio, using a single flash, a diffuser (in this case an umbrella), a wall as background, and a reflector.
It’s about as basic as you can get but with this setup it you can create really nice studio portraits for little expense.
So here’s an overview of the equipment you’ll need.
A light stand, a bracket flash holder, an umbrella, wireless flash triggers, a flash, a camera, a lens hood and a reflector.
Note that most of these items come in cheap and expensive versions. I would suggest for basic items such as light stands, umbrellas and reflectors, you can get away with the cheap versions. You might want to buy a couple of each in case they fall apart. But for anything electronic, it’s worth investing in quality. Saving a few hundred dollars on a flash is no saving at all if the flash stops working after a week or two. And the kind of flash triggers that you can buy for a few bucks on ebay are terrible – avoid them at all costs!
So let’s set up the studio.
First we’ll put up the light stand, tightening the screws firmly. Then we’ll take the flash bracket. A flash bracket allows you to attach a hotshoe flash and an umbrella diffuser and then adjust the angle. This type of bracket is not much more than $10 but it’s nice and solid.
Next wireless flash triggers. These carry the all-important signal from the camera to the flash. Flash triggers are an alternative to a lead which is cumbersome – easy to tangle or trip over – and it’s also unreliable. In my experience these Phottix triggers are pretty good, not much more than $100 for a set and above all reliable.
Triggers come as transmitters – that attach to the camera – and receivers, that go on to the flash.
In terms of flash I’m using my trusty Canon Speedlite 580. I’ve had it for years and it’s never let me down. It wasn’t cheap but unlike cheap imitations, it was worth every penny.
So let’s attach the flash trigger receiver to the flash, locking it on to the hotshoe so it doesn’t fall off.
Next we’ll attached the flash trigger to the bracket, taking care to tighten it both on the bracket and the trigger so it doesn’t drop.
Let’s take the umbrella and slot it through the bracket. Tighten it and then expand out the umbrella. You’ll notice we’re going to shoot through the umbrella rather than use it to bounce light off.
Now for the camera. First let’s put the lens hood on. The hood is important as we’ll be shooting next to and behind the flash and we don’t want direct light entering and the lens and clouding it.
Now we’re ready to put the transmitter trigger on the camera hotshoe. Once it’s on we need to synch the triggers, making sure each is set to the same channels.
Let’s set the flash. We’ll put it on manual mode. As we want to shoot in the lowest ISO possible – 100 – we want a fairly strong blast, but we can adjust this once we start shooting.
Next, we’ll set the camera. We’ll go for shutter speed 1/160, aperture f5.6.
Finally we’re ready to bring in our subject. We’ll position her close to the wall and then move the light stand so the flash and umbrella are pointing down at her face, creating a kind of Rembrandt light.
Generally I position the stand so the umbrella is close to the subject, about a metre or metre and a half. That way shadows are soft and there is a nice fall-off of light.
We’re also positioning the reflector on the shadow side of the subject to reflect some light back and fill those shadows.
So there it is – a simple studio set-up that works indoors and outdoors (weather permitting). It creates lovely images and it won’t break the bank.
Thanks for watching and see you next time!
Great video. Much appreciated.
Great sir….
thanks
Another great video..i am starting to be addicted to your material! Nice job keep it up..
That's it… I'm getting a home studio set up right away… Just finished binge watching all your uploads ever 🙌🙌🙌
I love all your tutorial and i know you can help me with this Lol ,I´m a new in photography and I love taking babys photos and family photos all most indoor photos. I´m planing to invest in a good lighting studio light.. which modifier lighting should go for ..i hope you understand what i am try to say…..Thx
Your videos are amazing as always.
Thank you so much! Bought it everything what you said , can't wait to try it
Thanks so Much. So wish you were around Perth. I really enjoy your simplicity.
Great Video man and this video really help me so much, thx ones again and more video…
l want to buy Tripod under 100 dollar
Please suggest me good one
best
Nice video may I ask why you choose an umbrella vs a softbox
since i watched your all video, i was waiting for new one and this one is also great…………keep mentoring.
Great Video' I think you put so much effort in your Video! You have amazing skills , I hope you'll Keep up the good work and content! 😊 I look forward to see more of you!✊