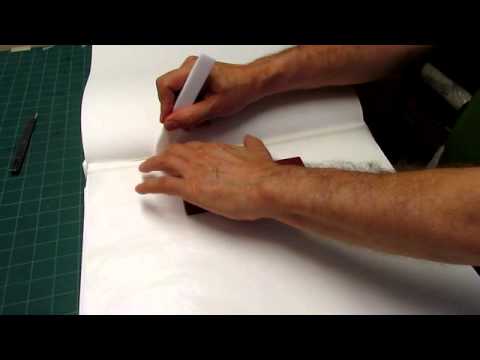
Photo Album – Guards with Glassine
This is a way to cut guards and add glassine interleaving to a photo album. I have other videos about making the actual book in this channel. This is a variation /addition to supplement the photo album videos.
For those of you who will ask, the paper is white stonehenge. The glassine is standard issue. Twintak is a trade name for a high quality double sided adhesive tissue made for graphic arts use. You may also know it by the name Cello-tak. I comes in large sheets, beware of cheaper versions, you should pay around $9.00US for one sheet about 36 x 24 inches.
I use teflon folders.

Album,, hand sewn or perfect bound? Please …… OhOh just seen comment below question duly answered many thanks
Many thanks for your reply..
Very very good… But does the edge of the glassine go completely under the edge of the crease, please??
Thank you Sir 🙂
The paper is Stonehenge. It's a cover weight paper rather than a text. Any heavier weight paper will work for your album, paper that is heavy enough to support a photo or what ever you intent to put in the album without bending too much.
Thanks for watching!
This work is extreme! I am amazed!
Thank you for all videos! They are life saving! 🙂
What gramature paper are you using for albums?
Hi! This album looks great and accurate. I wonder how pictures are placed on each page? Use PVA glue or two sided tape? Thank you for your videos, you teach a lot. Can I write you a question on your email for help?
Beautiful Work
thinks for all video .
Do you have a video demonstrating how you made this album? And, where do you purchase your twin-tag? Thank you.
Hi – a slight misunderstanding Mr Reynolds Sir — when you said Thank you – I replied, No, Thank You– you see? I totally love your work and was thanking you for thanking me basically — hehehe — Ok – moving right along — have a most excellent day and keep the videos' a coming
mmm Why are you placing glassine after every 2 pgs? I believe I understand that it's to protect pictures? but why every two — never seen this before
Thank you and Happy New Year to you and yours too!
Hi Sage,
I'd like to thank you for all your video's: they are really helpfull!
Happy 2013 for you and your beloved ones!
the album is built the same way as you would sew a book of signatures, instead of text weight paper use something like Stonehenge or Somerset. It is helpful to let the signatures rest overnight in a standing press before sewing. After sewing, tip up the spine and find a printer with a guillotine to trim the edges.Then continue with rounding and lining the spine videos, then on to casing in and guarding a book for a photo album. Write to me through my regular email if you need more help.
See my video on preparing a photo album, I always do it this way. This way you can build the book using presses without having to pack the book out and deal with those loose sheets of packing paper. It saves an enormous amount of time in folding, sewing and other things you have to do to bind an album. Cut out pages can be used to make watercolor blocks or be made into other books. The adhesive is twintak sometimes sold as cellotak. An adhesive coated tissue between protective papers.
It never occurred to me to do album pages like this. I just fold a 1cm strip on the left, then sew as normal. What's the adhesive you're using for the glassine interleaving?
Thank you Noeleen,
I'm happy to know that these little videos are helpful.
Sage
Thank you for this and all your wonderful demonstrations. They have been a terrific help to me in my art teaching and I have passed them on to the members of Peannairi, Irish scribes.
Thanks again
Noeleen
good posting