How to Set Up Studio Lighting at Home | Portrait Photography
Watch more How to Take Portraits videos:
I’m Joe. I teach photography at the School of Visual Arts in New York. This is a cheap, do it yourself, studio lighting set up.
The lights are simple clamp reflector lights. You can find these online. You can find them in pet stores.
I like the ones with the ceramic bases because you’re going to use very hot bulbs in them.
I use 250 watt ECA photo floods in the back, and a 500 watt ECT photo flood in the front.
The two back lights provide a nice, even light across the background.
I have a little photographic diffusion over each light, and you see I used a big umbrella over this one to make the light nice and soft and even and flattering to my subject.
Don’t try to shoot against the wall. If you’ve got brick or something that could be remotely attractive, that could make a nice background. But if all you’ve got is a white wall, no white wall is ever clean and smooth enough to make a good background.
Buy a roll of seamless. A roll of seamless is like $20 bucks. You can get it in any color you want. I prefer the grays, although white can work really well. The lighter gray can work well. Colors, if you’re really into colors, I’m not that fond of that. I think gray works really nicely. You pound more light into that and it gets a little lighter. You hold light back from it and it gets a little darker. It’s very easy to use. And although I have it hanging on stands right now, you could tape it to the wall and just let it hang down.
If you’re in a basement or something, or in a garage and you’ve got rafters or pipes, you can just clamp it or run a piece of rope through it and hang it from the pipe or the rafters.
You don’t have to use the stands to hold up the clamp lights. If you’ve got rafters or pipes, you can clamp the lights on that and shine those on your background and on your subject.
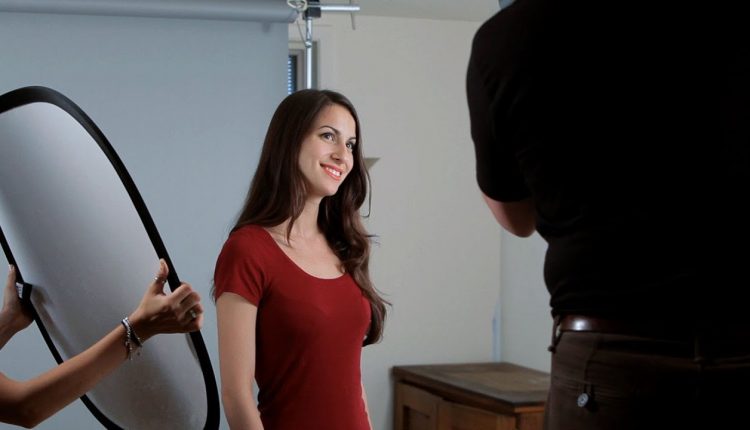
If you find that you’re getting a little more shadow on the sides away from the umbrella than you want, come in with a reflector just to open up that side of the face a little bit.
Syd, roll your left shoulder back just a little bit. That’s great. Wow. Wow, wow, wow. From your waist, turn more to the left. Good. Lift your chin just a tiny bit. Turn your head to your right. That’s terrific.
This much light gives me enough to shoot at ISO 400, a little close down from F-4 at 1/125th of a second.
Make sure to set your camera’s light balance for tungsten or incandescent because that’s the kind of light that you’re working with.
Lift your chin a tiny bit, Syd. Turn your head more to the right. Fabulous.
And that’s a cheap, do it yourself, lighting set up.

Awesome video mate. Are the 500w bulbs that you use approx 3200k (warm white)…same with the 250w bulbs? Cheers
Set up white balance – remove green tint.
can i smash with your model
Video looks better than the photos…
Victim > Subject
omgsh just keep your finger taped to the shutter button
@Tonyman234 Salmonella
Subscribed. Gracias
Why there is a green tint to her photos?
Your Howcast sight is way to slow and glitchy. Stick to YouTube. My internet is Comcast 75 Mbps.
Can you please provide link for a cheap photographic diffusion and umbrella that you used ?
Thanks for the transcript of the video. Helpful!
So what do I do if I want to use a reflector on a subject but it's just me and I don't have help
Why are you using the lens hood in a indoor shooting?
Still trying to understand that little gadget, thought it was meant to prevent outdoor lens flares from sun only.
It doesn't look a "cheap – do it yourself" light setup
a roll of seamless is not 20 bucks. its more like 100 bucks for 12 yards
You made her hair look white…
I want to use things from the house. What do u suggest for a good lighting and backround???
Excellent thank you!
70 views