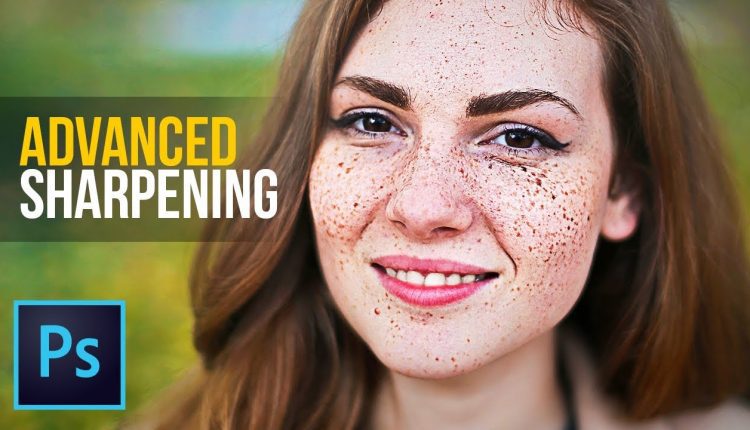
How to Create the Sharpest Portraits in Photoshop!
Advanced Sharpening Technique to Create Tack Sharp Portraits in Photoshop! Build levels of sharpness and learn how to apply the perfect amount and properties of sharpness to each area specifically.
In this tutorial, we will learn how to use the High Pass Filter to create various levels of sharpness for different textures and make your portraits pop. For instance, one level for skin texture, the other for the freckles.
We will also discuss what is sharpness and how does Photoshop sharpen images. I hope this tutorial helps, thanks for watching!
► RETOUCHING TEETH TUTORIAL:
► TIMESTAMPS:
00:23 The Concept of Sharpening
06:12 Analysis of an Example Image
07:22 The Technique
17:54 Recap
► DOWNLOADS
1. Sample Image:
2. Finished PSD: (Only for our Patreon Family)
► HELP US CREATE MORE FREE VIDEOS:
Support us at Patreon:
► SHARE:
►LET’S CONNECT:
Facebook:
Twitter:
Instagram:
Google+:

Still waiting to see the tit you re-touched
Hi from France,
Thank you for all.
I have a question, I use Smart Object, its impossible to desaturate them before using the High Pass, how do you do in that case ?
You do Ctrl + Shift + U (only work on Bitmap images and not on smartobjects.
Thank you for all.
You are hands down the ultimate master of photoshop! Your videos are so detailed and thorough, I love how you explain all the shortcuts and always sum all the steps you have followed. You are great. Thank you for all the amazing videos <3
Perfect explanation!!!!! Thank you so much!
PLEASE CLARIFY:
I'm guessing that the degree of 'high pass' varies from photo to photo.
If so, if one wanted to create an Action for Advanced Sharpening, it would need to be based on smart filters, rather than standard filters.
Like you, for simplicity, I prefer standard filters : could a set of layers with predetermined High Pass levels be used as a 'one fits all' Action?
why does it doesnt go back to the original image when i overlay after desaturating and high passing it..Instead, it goes black and white
yo bro! you deserve a million subs..lol..youre the best photoshop teacher i've seen here on youtube..as far as breaking down the details and all…amazing video! you deserve an award to be honest bro..thats all i can say!
your tutorials are so perfect! thx!!
Your brilliance is your simplicity and straightforward but tangible, meaningful explanations of concepts. Thank you so much for sharing.
great work, do you have complete portrait workflow tutorial from start till the end of retouching?
Wow, what a good explanation, thank you
Unmesh, you are a brilliant teacher! You understand that your own mastery of the subject is not enough. You appreciate when students need to understand underlying principles, and when it's fine to go ahead and just do something. You understand the things that students need to hear repeatedly, and have the patience to repeat for us. I could go on, but – as you say – you get the point. Many, many thanks!
As always, the best PS teacher!
6:23 you are definitely the best Ps lecturer on youtube but you must be an **** in real life. This is not the first time you say something like this
Hey Unmesh! Great tutorials, thanks! Do you plan a video on sharpening on retina displays? the resolution is so high so there is no visible impact of sharpening tools unless it is too much…
I'm too yellow to have freckles.
why is it when i overlay it remains black & white ??? any suggestion ? heeeelp!
Best tutorials on youtube hands down. Such a huge fan of the page!
I' have never heard this explained by anyone else so clearly as you have just done, you are an excellent teacher, thanks.
this video just started playing in background and ended up grabbing my attention for the full video, you sir just earned a sub and of course hit the bell notification,
you are the best thank you for all that you do
many many bla blaa blaaaa´s for a little tip :/
just found you yesterday, and I love what you are doing…
You are a great instructor. Concise, clear and easy follow along with. Thank you.
Thank you so much
Unmesh, thanks so much for all your videos. Quick question: you say to desaturate the image but I don’t understand why. I tried to look for an explanation in your video but can’t find it. Can you explain?
Cool video again, my ugly face is starting to look beau ti ful… I don't understand how Lr camera raw adjustments and workflow interfaces with Ps. Is Lr really necessary for "pro" level work? It's many more hours of training…
I really love your tutorials, thank you so much! 🙂
Yours are the best tutorials I’ve ever seen, absolutely brilliant in their content and delivery. Thank you so much
This was so helpful thank you
Unmesh do you have any portfolio?
Great tutorial although too many distracting adverts.