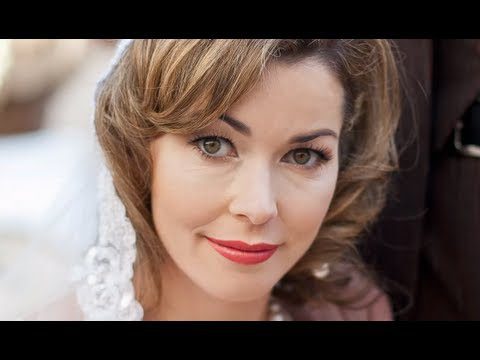
Professional Photoshop Portrait Retouching – Part III – Removing Unwanted Detail
Full article and exercise files at –
To see all before and after images, visit the SLR Lounge Facebook Photo Album at –
Welcome to Part III of the Professional Photoshop Retouching Series on SLR Lounge. It is time to get to retouching!
In this Photoshop video tutorial, we are going to begin removing unwanted detail from our photo. We will be using the healing brush presets that we setup in the previous tutorial, so be sure to watch the previous videos so you can achieve the same results.
Keep in mind that in this tutorial we are removing unwanted detail. There are certain types of details such as eye lines and smile lines that you want to diminish, not remove. We will cover how to diminish lines in a future tutorial. Enjoy!

this is a perfect tutorial
I don't think so, I can hear his mouse clicking
are you using a pen
Not sure exactly what you mean?
i wanna ask do you only work for your self or for the public too?
Awesome tutorials. Hope you keep making them!
why don't use the spot healing brush on a transparent layer, instead of a copied layer?
with a transparent layer you will be able to fade the adjustment, and if you want to remove some adjustement you don't like you can simply delete them with the eraser.
These videos need alot more views!!!!!!!!!!!
Great tutorials! Among the very best on the internet!
awesome tut…..thanks for your hard work…..