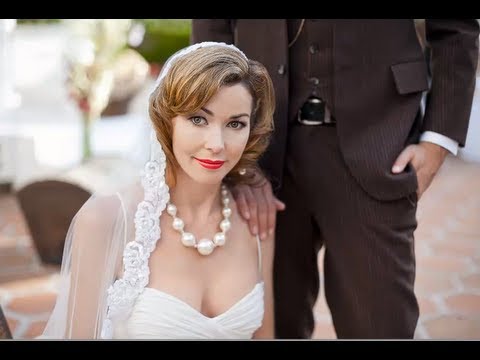
Professional Photoshop Portrait Retouching – Part X – Final Color Adjustments
Full article –
To see all before and after images, visit the SLR Lounge Facebook Photo Album at –
Welcome to Part X, the final video of the Professional Photoshop Retouching Series on SLR Lounge.
In this Photoshop tutorial we are going to take our nearly finished image and make a few color tweaks to make certain features pop. After that, pat yourself on the back cause you have made it through the entire Professional Retouch Series!

Great series, thank you for your efforts! Question though, I was waiting for you to address the grooms purple hand? I'm just curious if thats something you would fix or are you thinking it's ok as is? For whatever reason it's all I can see when look at the photo 😉
Thanks in advance!
Wow, GREAT and INFORMATIVE videos! Thank you so much for you time and skills! I learned so much from these videos!
Exceptional tutorial series.. thank you so much!!
This is the most informative portrait retouching series I've seen on the tube. Most excellent. The only thing I would not have done is to make the lips more intense than the eyes since experience has lead me to believe the eyes are generally the preferred focal point of a portrait. But I am not criticizing the master! Thanks for the great vid's Pye.
cheers for uploading this series, helped me out with some shots I took.
Great series. Please continue to produce tutorials.
u're the master dude than u a lot ! i subscribe immediately
grtz from France
Anyone else notice his PC clock says 5:45AM?
I went through all the videos in this series and I have to say thank you for sharing!
Awesome series, very subtle. But you gave here a little bit of a spaghetti-mouth. Especially the lower lip on the left. Nevertheless, great tutorial. I subbed for more, because you've learned me alot.
The model is disarmingly beautiful, especially her eyes. Her age shows in the hair (mid- 40'ies, I believe). Quality genes. I can bet – based on experience – she'll be dazzling even in her seventies.
This is awesome! Thanks for the walkthrough. What's even more awesome is that you sound like the bob ross of photoshop lol
I didn't know about hitting Backslash to see the mask. Thanks again!
Reguardless of if you went too far or not far enough it is really great to see how you used the tools and how you kept the subject looking real.
Excellent, thanks a lot
I have a question, when you give the photos to your client, do you resize it or do you leave them the original size?
Thanks for telling us what short cuts and menus you were clicking during all of the tutorials. I am a Photoshop newbie and that extra info was a big help without being distracting.
Great series….Thank You very much for sharing…..
Thank you so much for the series. I've been looking for something like this for a while now. Very easy to learn.
you are amazing<!!!!!
@wilbertcs You hit it right on the head wilbertcs, while there is definitely a point where something can be too much, it relies heavily upon the retoucher's style and taste. Start looking closely at fashion and advertising images and you will see just how far they will go with images. Often times it is beyond what we would consider "correct." But, it is always good to lean towards the safe side, also keep in mind this image will look different on different screens and calibrations.