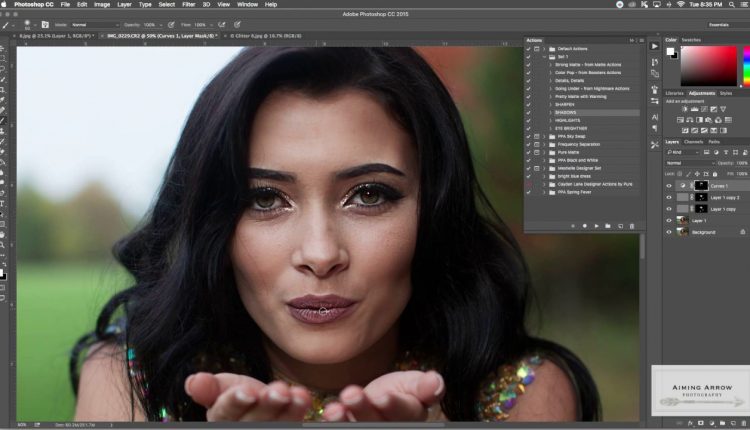
Adding Glitter Overlay Photoshop | Senior Portrait Edit
This was my first stab at filming a video! Sorry for the rough editing, I’m still a newbie! In this video I show how I applied a glitter overlay on a senior portrait. Liquifying, Dodging & Burning and a couple other techniques were used to get the finishing look! Hope you enjoy!
**Answers To Your Questions**
Is this really a senior!?…… Yes!
What camera did I Use?…….. I used a Canon 5D MII
The Lens? …….I used a 50 MM 1.2 Canon Lens
What glitter!? ….is actually an overlay! Link Below if interested!
What do you use to edit? ….Use photoshop on all of my images.
My favorite lens?…. I usually go for my 50mm 1.2 or 70-200mm 1.8
Did I use Pure Actions? ….Yes, and overlay! Link below!
Glitter Overly was purchased through this website!
Check my work out!
Website……
Facebook…..

Is there a freeze mask in elements
very cool thx!
It was a good video but sound disappeared a few times
How did you do the Sharpen, Highlight, Shadow actions or did you purchase them?
how do i find the play button with all the enhancement features? I cant find it on mine
Thank you for this video, I agree with Jessica about showing the steps on how you do all your editing but I thought you did a wonderful job for your first video 😉
I went to the link where you purchased your glitter overlay, I'm a newbie at all this so I wanted to ask you if you recommend buying the entire store, is that what you have?
Thank you and keep posting videos please ( I subscribed to your channel)
you mentioned everything you were doing, but not how you were doing it for photoshop beginners. for example: adding a layer ctrl J, how to use the sharpen, highlight tool, alongside how to use the brush tool with the masks or layers to erase the unwanted glitter. thanks for sharing but it was difficult to figure out what you were doing for a begginer as me.
Thanks for this… I knew I had forgotten a step and this just helped me out with my own glitter session for the editing