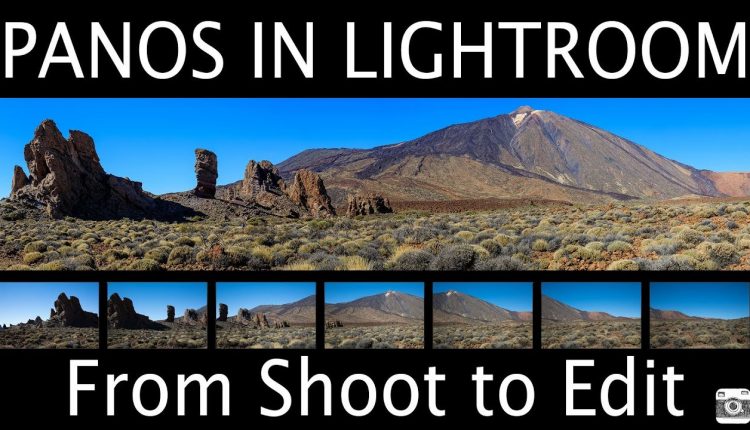
How to Create Panoramas from Shoot to Editing in Lightroom
This tutorial is an in-depth look at the whole process of creating panoramic pictures from the shoot to the editing process. It’s important that you get the shots right first before you do the Lightroom panorama stitching so we’ll be looking at best practice when taking the photos first, then how best to make a panorama in Lightroom.
Panoramic pictures are commonly made for landscape photography. They can easy be made on mobile phones but for real, high-end quality, you need to edit them in Lightroom. We’ll also be looking at the different panorama settings in Lightroom which include Spherical, Cylindrical and Perspective, auto-crop and boundary warp.
This is going to be a great Lightroom tutorial helping you to improve your panoramic landscape photography from shoot to edit!
Support us:
Check out our Complete Guide to Photography Book here –
Take your photography to the next level in our Online Courses here –
Grab a Freebie:
Get our Free eBook for learners of photography here –
Get 15 Free Lightroom Presets –
I hope you liked this video, if you did please support us by sharing it with your friends and subscribe to our channel for more. We upload new videos every week and if there’s anything you want us to cover here at TSoP let us know in the comments below, it gives us great ideas for new tutorials.
Get weekly tutorials delivered straight to your inbox, sign up at
Join our learning community on social media:
Facebook ►
Instagram ►
Thanks for watching and remember – Learn more at The School of Photography.

can I use 50mm with a crop sensor?
you have a great ability to explain a concept even for those who do not speak english very well, congratulations. Simple but effective the hand photo trick.
okay wow! i love your video! so much
So I'm new to panoramas, not new to photography though and have a question. Wouldn't it make more sense to orient the camera vertically so you could capture more information and also get more coverage vertically in some situations?
Nice video!
Just a quick suggestion. I noticed that the right part of your panorama is brighter than the left part. In this scene, that's not a big problem. However, since this video seems to be targeted to beginner photographers, you might want to explain in a following video that going out of A and into M mode will negate this issue. Very contrasty or backlit pano's might be ruined because of this!
Great tutorial keep up the great work wish you do more with Sony 6300 stuff.
Great informative video with a lot of good points. I was wondering why you didn't check the box "enable Profile Corrections"? When do you check, or when do you not check? Thanks
Good information – I didn't know how to use the masking part of sharpening.
Amazing
I usually use 85mm lens and in portrait orientation